Fiverr Gig Post
Step 1: Create an Account.
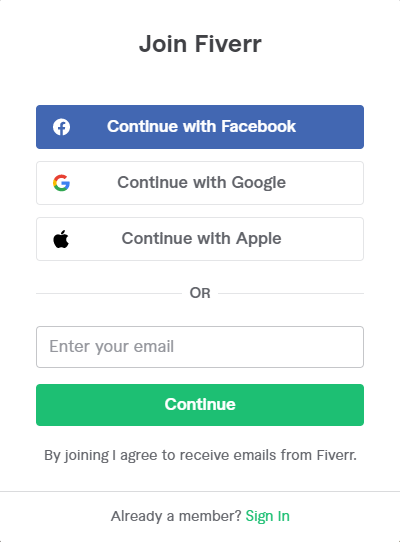
Before you can post your first gig, you’ll need to create an account through Facebook account or Google account or Apple account or Email address.Once you’ve chosen how you’d like to create an account, you’ll have to choose your username and either create a password or enter an email address. Once your account is created, simply go to your inbox, activate it, and go on to fill out your profile. Click here
Step 2: Set Up Your Profile.
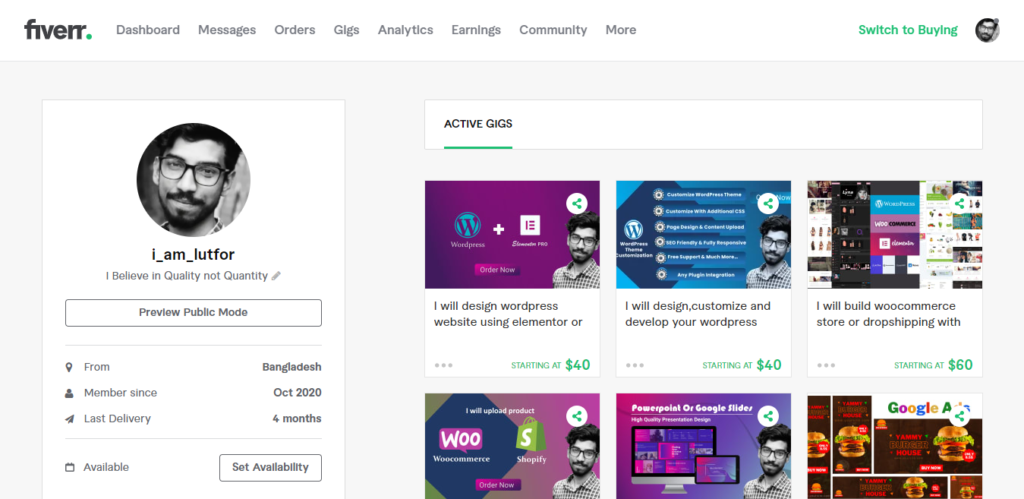
Fiverr will ask you to include a photo and various pieces of key information to help potential buyers know you more.
- Profile Photos: Include a professional looking photo of your real face. This will help make your profile look more professional as well as ensure the confidence of potential buyers.
- Description: Use this section to introduce yourself to potential buyers. Here, include your areas of expertise, experiences or anything else you think is important Keep it relevant!
- Language: Include What language you speak and your level of fluency; This is incredibly important if your gig includes skills such as writing or translating.
- Tests Accepted: This section of your profile will show you the tests you completed with Fiverr. Tests can help you verify your skills and increase potential buyer confidence. Just be careful, since you can only take the test twice every three months; However, Fiverr gives you the option to hide your test scores if you have a bad test.
- Skills: Here, any skills applicable to the jigs you want to make should be included. This includes skills acquired through previous work, hobbies or other life experiences. The fiverr included only allows ten people, so choose wisely.
- Education: Include where you took college and your degree.
- Certificates: List any additional qualifications that can help you stand out from the crowd.
Step 3: Start a New Gig.
Once your profile is set up you can start creating your first gig! To do this, go to the “Selling” menu at the top of the screen and select the “Gigs” option in the drop-down menu. From here, all you have to do is click the “Create New Gig” button to start the process.
Step 4: Write Your Gig Overview.
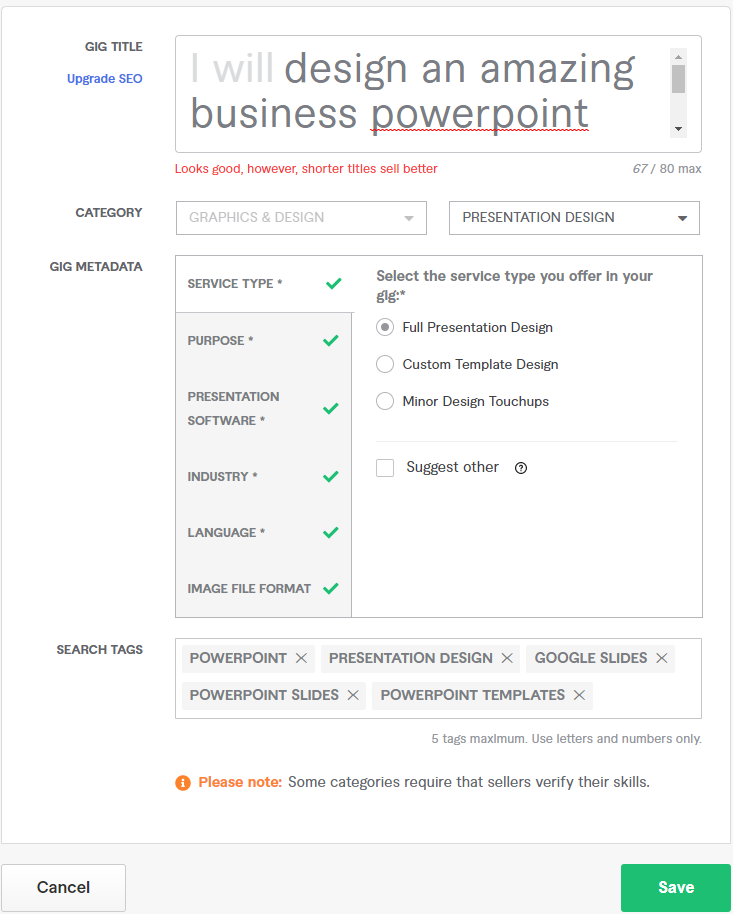
The first section you need to finish is Gig Overview. Here, you need to fill three boxes
- Gig Title
- Category of gigs
- Search Tags related gigs
You need to fill all of those three item.
Tips:
Gig Title: You’ve only been assigned 80 characters, so count them and make sure it’s clear and concise; You want your prospects to know exactly what your offer is. Also, write something that will keep the title relatively original and stay away from the crowd.
Categories: Depending on your title, Fiverr will automatically suggest several categories and subcategories and usually one will match your proposal. However, if none is appropriate, you can choose from a plethora of options from their dropdown menu. Look for categories and subcategories that fit your gig.
Search Tags: Set the terms that are most likely to find a buyer when searching for your service. You are only allowed five conditions, so consider. These will vary greatly depending on what you’re offering, so doing some research on the most searched terms in your
Once complete, click the large green “Save and Continue” button at the bottom right of the screen to go to the next section.
Step 5: Price Your Gig.
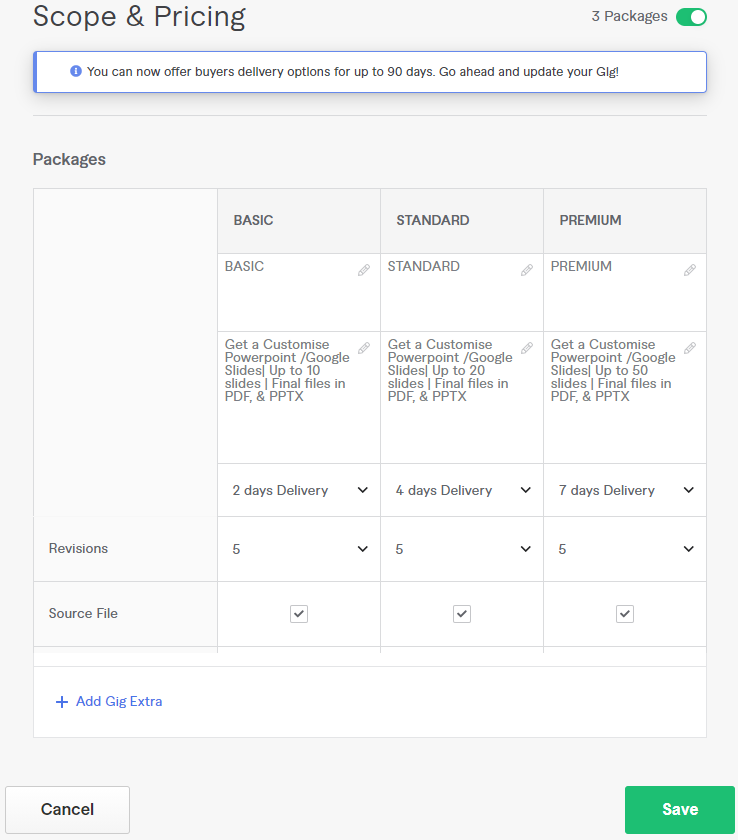
The price of your gig has evolved quite a bit since the introduction of fiverr. The platform currently allows vendors to offer up to three separate packages:
- Basic
- Standard
- Premium
Tips
When filling out the Opportunities and Prices section, there are some important things to keep in mind:
- Number of packages: It is not necessary for you to use all three packages, although many buyers prefer additional premium options, so offer where possible. Additionally, those who provide the Triple gig package, according to Fiverr, will be able to earn up to 64% more on order.
- Name your package: Choose an interesting title for each of your packages and make sure the difference between them is crystal clear.
- Package Details: Briefly explain what is included in each package and why you included it. You are only allowed 100 characters here, so Fit can be the most creative you want to say. Make sure the offers are clear to any potential buyer.
- Delivery time: How long will it take you to complete a project. Depending on the field of work, the quantity may vary between packages.
- Revisions: How often you change your work at the request of the buyer. Premium packages often include additional modifications.
- Price: Each package can be set anywhere between 5 to 995 Your Your original package should always be the lowest and your premium should be the highest price. Remember, you can always change your prices later, so it may be wise to keep them low to help create reviews initially.
Once complete, click the large green “Save and Continue” button at the bottom right of the screen to go to the next section.
Fiverr Gig Post | How to Post a Gig on Fiverr
Step 6: Give Your Gig a Description and FAQ.
Here, you need to discribe a great detail about your offer. There are a minimum of 120 characters and a maximum of 1200 characters for description. Don’t leave out any important details, as your buyers need to have a description at the appropriate stage to determine if it will meet the requirements.
Being too vague can lead to dissatisfied clients and negative feedback, potentially ruining future opportunities for this platform.
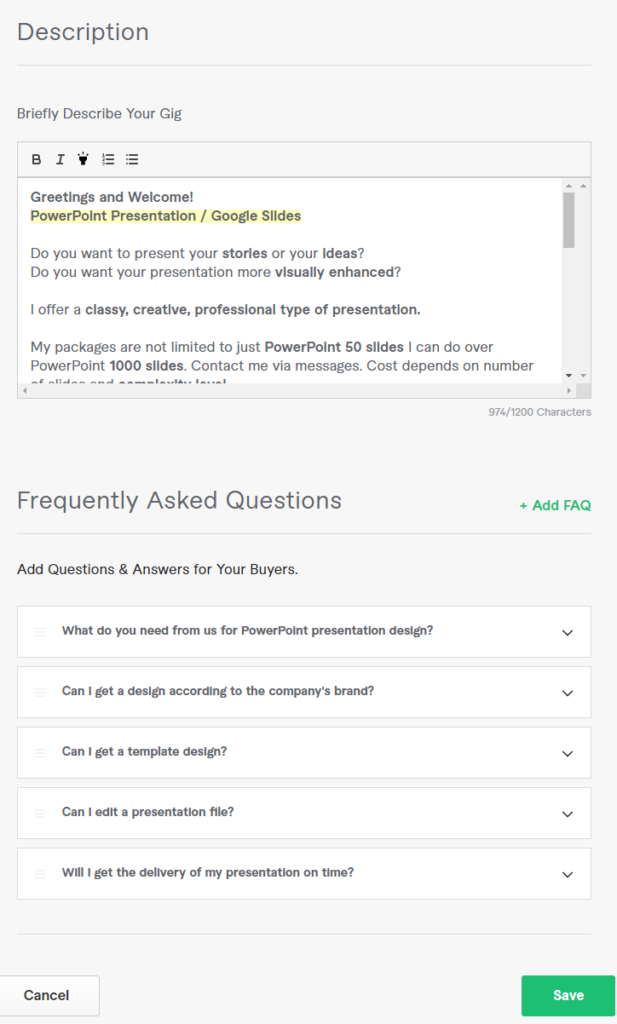
Once your description is complete, follow the FAQ. FAQ is really important for best sell .In this section, provide answers to the questions you might expect in the context of your gig. This probably needs to be corrected later, because after your jig has been active for some time you don’t know what most of your FAQ will be. Click the “Add + FAQ” button to include as many FAQs as needed.
Once complete, click the large green “Save and Continue” button at the bottom right of the screen to go to the next section.
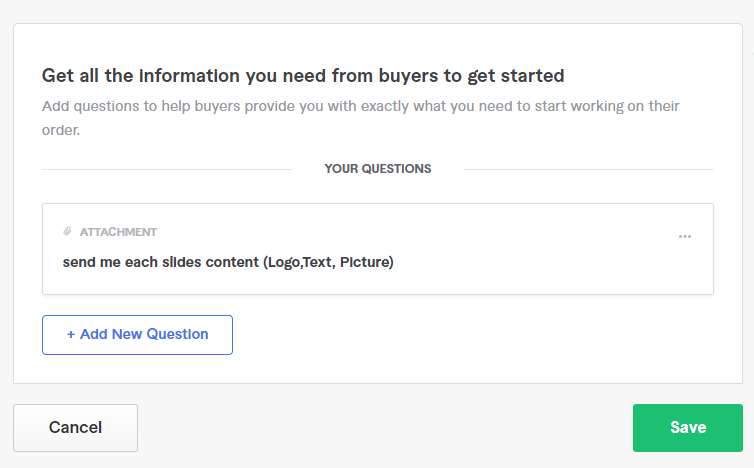
Step 7: Establish Your Gig Requirements.
Here, you need to discribe your needed information for this project complete.You’re given three different methods of asking for this information, including:
- Free Text
- Multiple answer
- Attached file
Once complete, click the large green “Save and Continue” button at the bottom right of the screen to go to the next section.
Step 8: Add a Gallery to Your Gig.
Your gig gallery contains photos, a video, a PDF or everything above. The files you choose to keep in your gallery should be relevant to your gig’s offer.
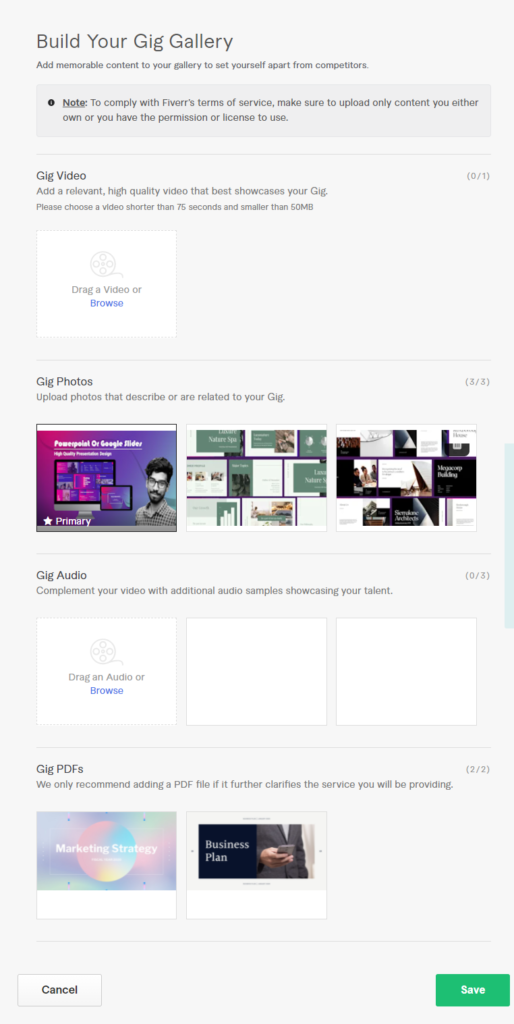
Tips:
Try to add all of those items (Photo+Video+PDF). This would be great for gain more job.
Once complete, click the large green “Save and Continue” button at the bottom right of the screen to go to the next section.
Step 9: Publish Your Gig
After fill all requirements for a great gig on Fiverr than click “Publish“
For Payoneer account Open Click Here